
You will need:
Vaseline
Nail polish remover
Q-tip
Tooth picks
Nail polish:
Red (I used Revlons Scarlet curtain)
White (I used Sinful colors)
Black (I used Sinful colors)
Clear top coat (Sally Hansen hard as nail)

Step ONE: Make sure your nails are clean from any polish, cut, filed, and cuticles pushed back.
Step TWO: With a Q-tip apply vaseline on the skin around the nail. (this will make cleaning up WAY easier)

Step THREE: Apply your red nail polish on every nail. (Use at least 2 coats)

Step FOUR: You will then take a tooth pick and dip it into your white nail polish. Make sure you do not have too much on the tooth pick so you do not create a "pool" of polish on your nail (this will make it messy and will take very long to dry). However; make sure you have enough on the tooth pick so you can drop dots easily. **Look at picture below to see how to do this!!!


Step FIVE: You're almost done :)
Now it's time to make Minnie Mouses sillhoutte. I did this on my thumb, as there is more room.
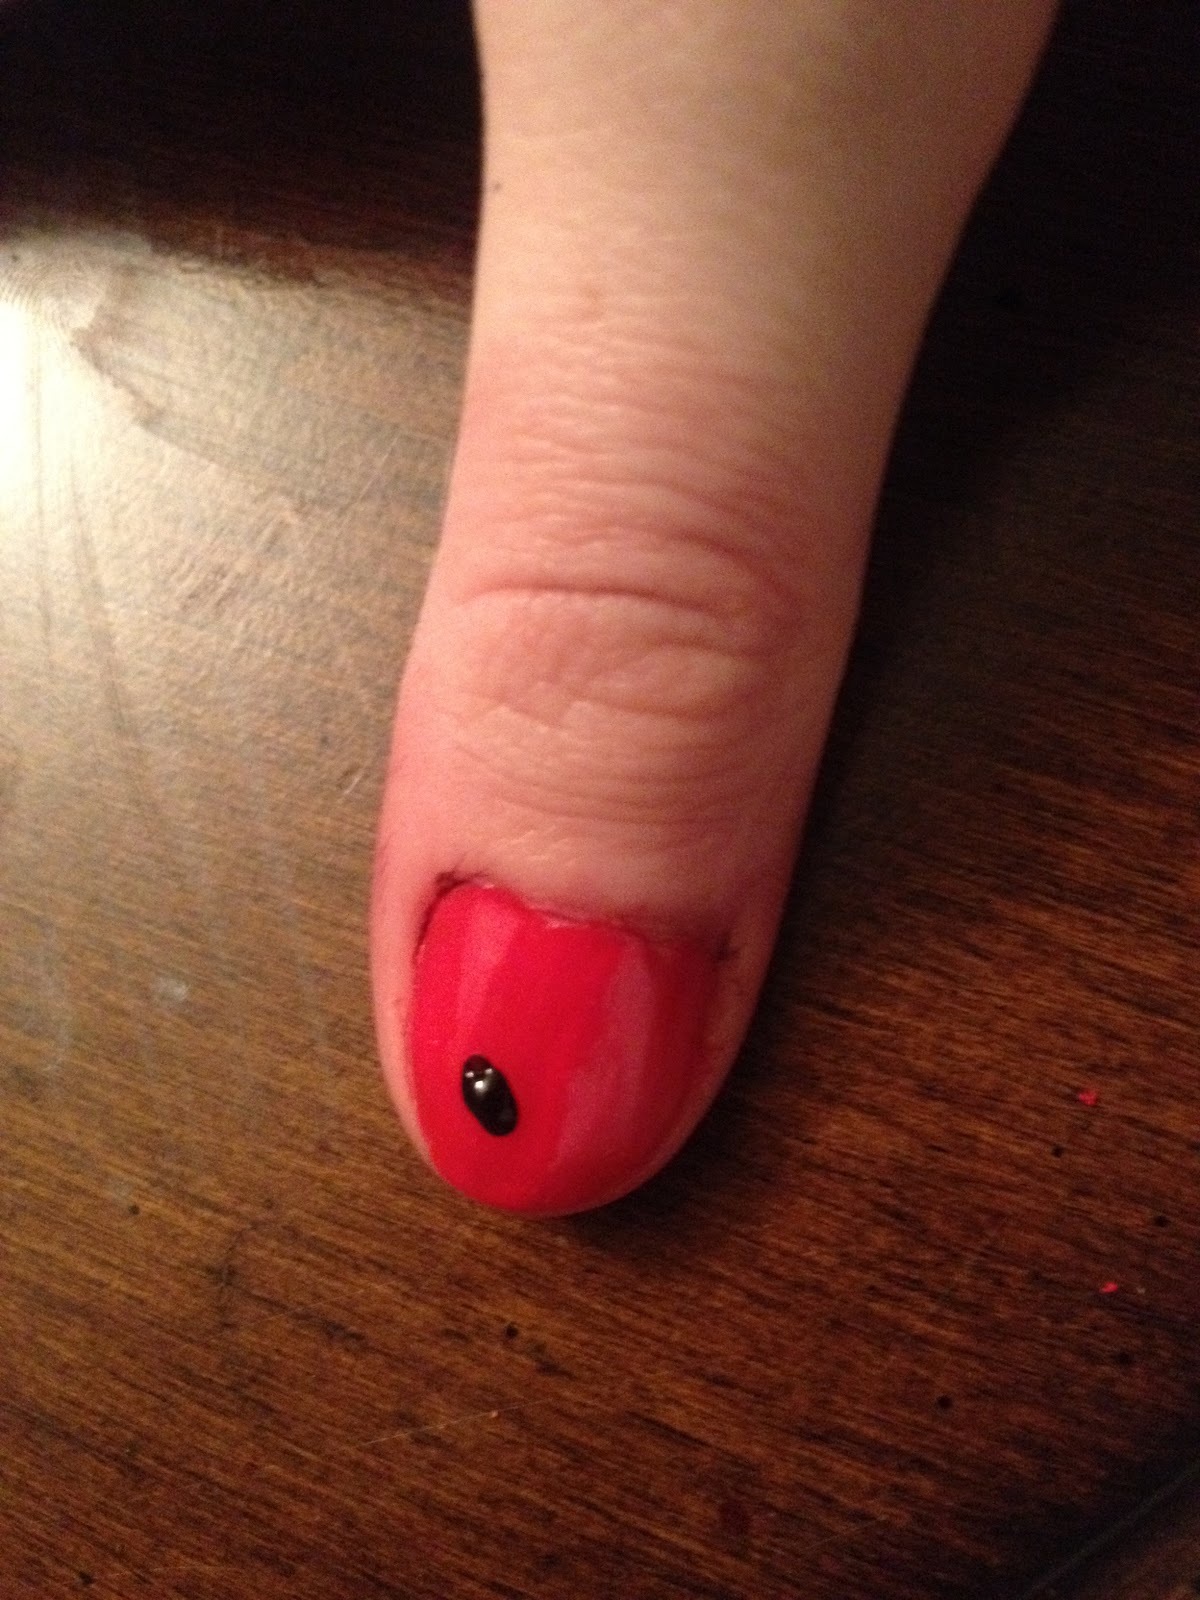
- You will start by dipping your tooth pick into the black polish and making a small ear "dot" on the bottom of the nail towards the left side of your nail. ** see picture before you do this!!!
2. You will then make the other ear next to the first one. **see picture!!

3. Now it's time to create her head. Place a dot on the bottom of your nail centered between the two ears. You will then use your tooth pick to connect the head to the bottom of the ears. **see picture!!

(You might mess up once or twice, but keep trying utnil you get it the way you want. I had to take all my polish off over 3 times to redo it before I got it the way I wanted; so don't feel discouraged.)
Step SIX: After your polish has completely dried; apply a thin layer of clear coat to finish it off.
Step SEVEN: This is where the Vaseline comes in handy. Using a Q-tip, start to remove the excess polish off of your skin and it should come right off. If it is not coming off easily; dip a Q-tip in polish remover and gently scrub it off. (make sure you do not go too close to the nail, as you don't want to remove any polish from the sides)
Hooray, we now have cute little Minnie Mouse nails!! I hope you guys enjoyed this tutorial and had fun doing this. Just leave a comment if you have any questions. Have a great day :)

Hey cutie! I've followed your blog from YouTube, please follow back :) xxxx
ReplyDeleteAwe, thanks so much! I followed back :)
Delete